
Waltham - the last survivor
- Dec 12, 2014
- 4 min read
Having proceeded this far along Watling Street, it might seem obvious that the cortege should continue into London on this same course. But that is exactly what did not happen. Instead, it crossed across Hertfordshire for a further stop at Waltham Abbey, before proceeding into London via Ermine Street.
There are two good reasons for this. The first is that an entry from the North East would enable Eleanor to progress through the whole city and receive honour along the route taken by so many triumphal processions, including her own entry into London in 1255. That this was in Edward’s mind is indicated by the fact that he left the cortege after St Albans, allowing Eleanor to be the undisputed star of her own show. But also it continued the themes of the procession thus far – to proceed via places which had meaning for Eleanor, and wherever possible to dovetail with her properties. A move to Waltham would not only assist the London leg, it would also enable Eleanor’s cortege to pass near her holdings in Shenley and bring honour to an abbey under the rule of a companion from their recent Gascon trip. Waltham was also an abbey which had been substantially refounded by Henry II in penance for his role in the death of Eleanor’s favoured saint, Thomas Becket.
The Waltham cross marks a change of personnel – from here the “London team” appear to have been in control, with payments to Dymenge de Reynes and Roger Crundale, rather than John de Bello, and Alexander of Abingdon for the images, instead of William of Ireland. In some ways, although hexagonal, it appears to be an elaboration of the Hardingstone Cross.
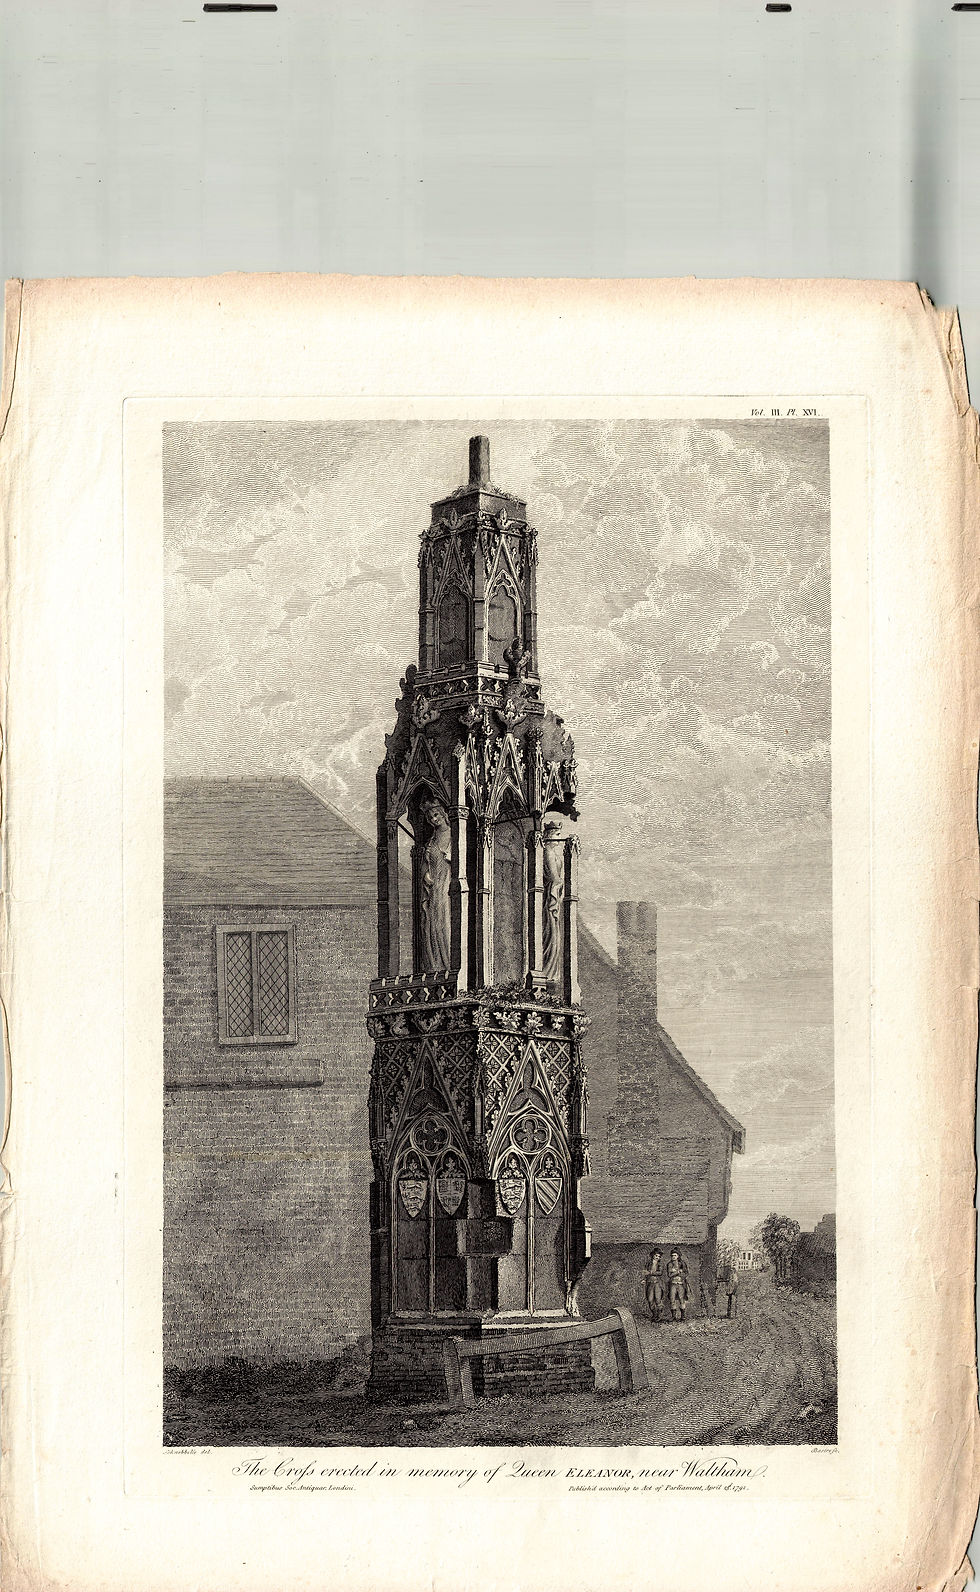
Some accounts suggest that there were originally six images, but the arrangement of the arches in the second layer appears to make this unlikely; and certainly the Vetusta Monumenta survey shows only three. Thus the cross commences with a hexagonal base, with gables ornamented with rosettes and heraldry, followed by a second hexagonal layer of hollow gables fitted with images of the queen in one face followed by a double gable supported by a pillar in the next face. There is then a smaller hexagonal top layer again with arch and gable carving and a mini-parapet above which a cross would have sat (the current version is not original). Caen stone was bought for the images on this and the Charing Cross.
As for those images, there certainly seems to be something to recommend the view of most modern art historians that they are the finest of the survivals, though they lack the variety of posture of the Hardingstone images. The version which has Eleanor grasping the cord of her cape bears a striking resemblance to the tomb effigy. Meanwhile the one with the looped up draperies seems both on the point of movement and of speech – the most lifelike of the entire lot, and a strong argument against the theory that no portraiture was intended in the representations. It would seem that to thirteenth century tastes also Alexander was the better artist: he was the person commissioned to make the ornaments for the final, most upmarket, cross at Charing.

While the Cross survived the Civil war, it should not be thought that what we see now is all survival. For many years it presented a very battered face to the world as Waltham extended itself around the Cross – originally just outside the village. Stukeley, writing to the Earl of Oxford in 1728 stated: “Waltham is pretty perfect, but this last summer Mrs Robinson has rebuilt part of her house and encroached upon the road and broke down a good deal of the cross to make way for her roof”. Gough, writing in 1796, says that the pub “The Four Swans” (later the Falcon) has built almost into the cross “whereby much of its beauty is concealed and many of its ornaments disfigured.” Stukeley also reports a good deal of damage from carriages running against the cross, which can be seen fairly clearly in numerous eighteenth and nineteenth century prints and sketches. Two restorations consequently took place in the nineteenth century.

The most important aspect of the second restoration was the gift by Sir H.B Meux of land to widen to road around the cross. This left the cross on a island between the High Street and Eleanor Cross Road. But this still left it vulnerable to traffic damage, and a further restoration was commenced in 1950.
Here comes one of those historical “What if’s”. The statues were deemed too damaged to remain in situ and facsmilies were made. The originals were destined for the breakers yard. But in stepped a hero to all Eleanor Cross fans: Jack Edwards, Chief Librarian at Cheshunt Library between 1946 and 1984. He alone seemed to realise that they were of inestimable value as rare examples of medieval sculpture. He therefore rescued the statues and gave them a home in Cheshunt Library until 1988 when the V&A belatedly realised their importance and took them on a 99 year lease. The best preserved of the statues is still viewable there. The others are too delicate to be on public display.

A further fully considered restoration in 1898-90 involved a general clean up, careful renewals where strictly necessary – and the installation of the unattractive but necessary pigeon spikes. The area around the cross was pedestrianized, and an archaeological survey disclosed that there are extra steps concealed beneath the current ground level.


Comments